Deploy a Sample React App
Overview
This article has two main sections:
- Building the application, where we go through creating a React app, building with Docker, and pushing it to a container image registry on on DockerHub
- Deploying the application, where we pull the container image into a MedStack Control cluster.
📘 This is only a sample application
The intention of this article is to learn the process of containerizing an application and deploying a custom service into a MedStack Control cluster. The app and its configurations in this article do not follow best security practices.
Pre-requisites:
- You have NPM and Docker Desktop installed in your system.
- You have created a cluster in MedStack Control with a Manager node and have deployed the load balancer service.
- You have created a free DockerHub account and have created a set of read only credentials.
- You have added those credentials to your MedStack Control account to pull images into the cluster from the registry.
Building the application
On this first part of the guide, we will create the app, dockerize it and store it on DockerHub for later use.
Create React app
Start scaffolding a react app with create-react-app tool:
npx create-react-app ms-react-app
Dockerize React app
We will add 2 additional files:
- .dockerignore
- Dockerfile
Create a .dockerfile at the root of the project and add the following contents:
**/node_modules
build
Create a Dockerfile at the root of the project and add the following contents:
# Emulation to AMD when building on Mac Silicon
FROM --platform=linux/amd64 node:18-alpine AS builder

# Set environment
ENV NODE_ENV production

# Add a work directory
WORKDIR /app

# Cache and Install dependencies
COPY package.json .
COPY package-lock.json .
RUN npm install --production

# Copy app files
COPY . .

# Build the app
RUN yarn build

# Bundle static assets with nginx
FROM --platform=linux/amd64 nginx:1-alpine-slim as production
ENV NODE_ENV production

# Copy built assets from builder
COPY --from=builder /app/build /usr/share/nginx/html

# Expose port
EXPOSE 80

# Start nginx
CMD ["nginx", "-g", "daemon off;"]
📘 If you're building on Apple Silicon
When building Docker images on machines running Apple Silicon (M-series chips), you must add the following line to your Dockerfile to delegate Docker to build the image in the correct architecture
FROM --platform linux/arm64 <image name>
Build image
Replace {my-repo} with your repository
docker build . -t {my-repo}/ms-react-app
Store image on DockerHub
Push the image we just created into your DockerHub repository:
docker push {my-repo}/ms-react-app
Deploy to MedStack Control
On this second part of the guide we will create a custom service on MedStack Control, configure your repository and the service parameters and deploy the application.
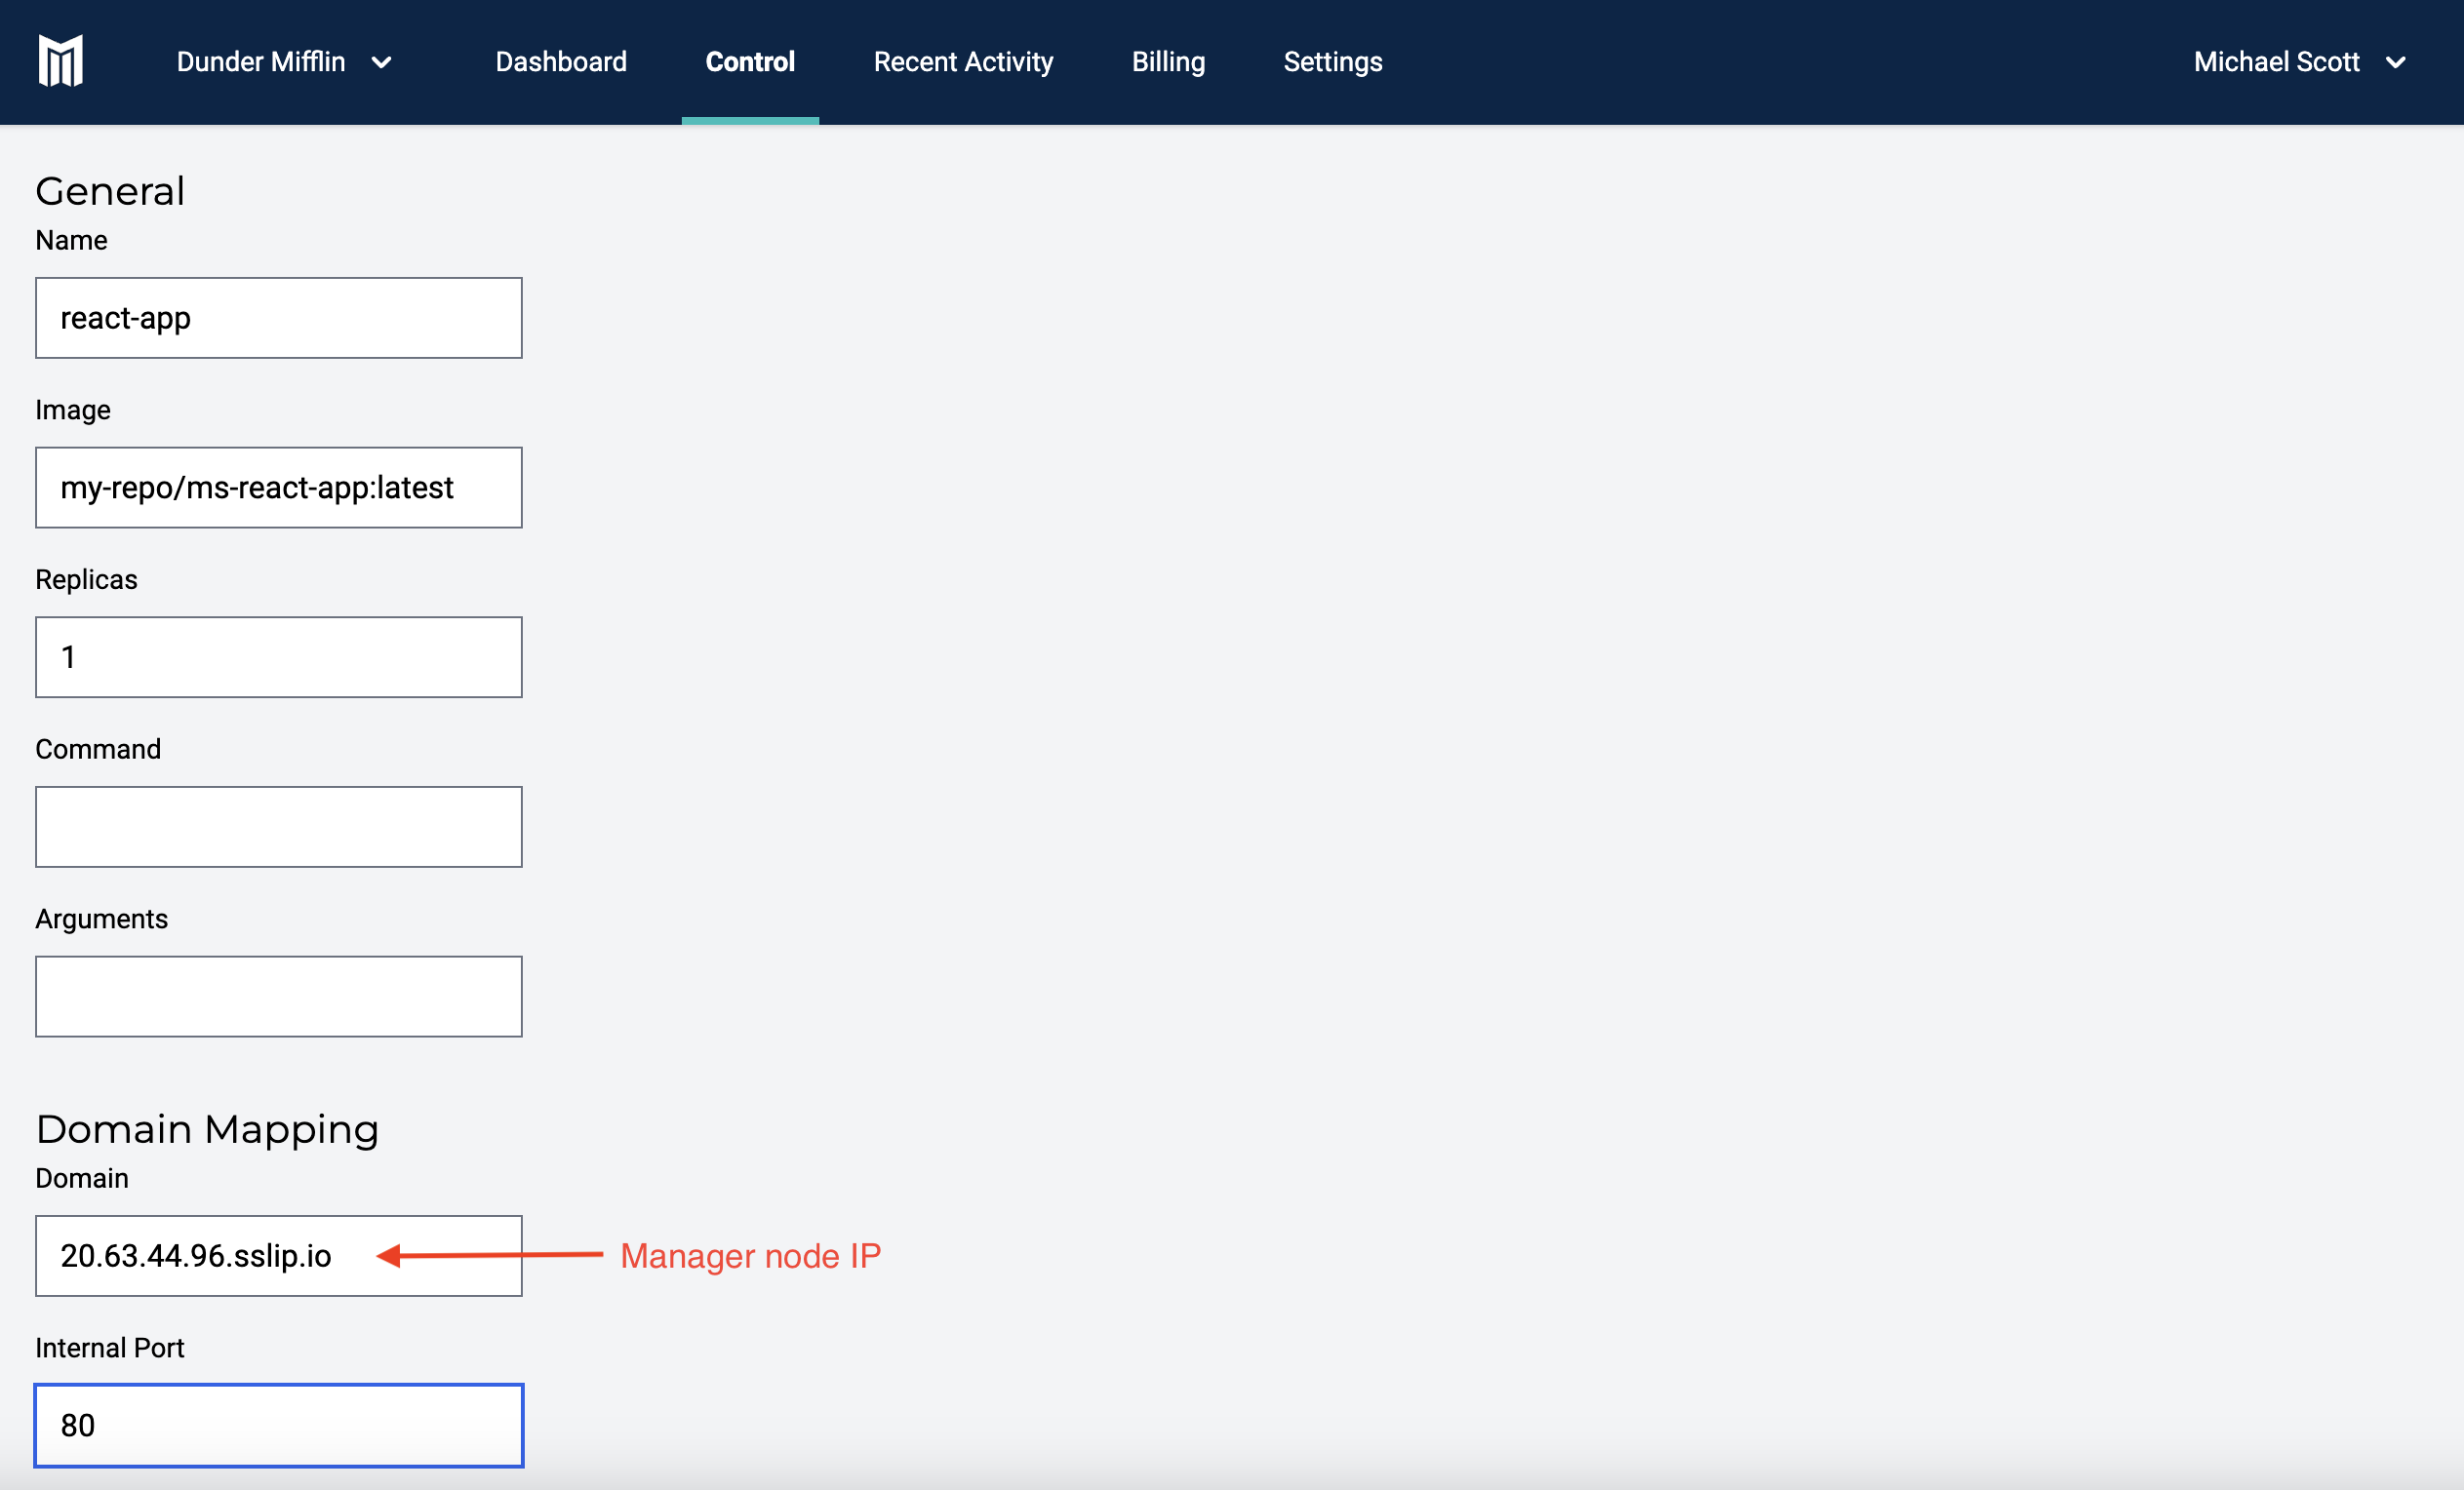
- In the cluster, make note of the IP address assigned to the Manager node and copy it for later use. We will refer to it as
{manager_node_ip}.

- Next, we'll deploy a custom service. This can be done by clicking
Manage Dockerand then clicking onNew Serviceon theServicestab, and finally selectCustomservice.
Type in the following parameters:
- Name:
react-app
Give it the name that you like! - Image:
{my-repo}/ms-react-app:latest
The image that we just pushed to DockerHub. For example, "mycompany/ms-react-app:latest" - Replicas:
1
You can add more than one container for higher availability and horizontal scaling across multiple nodes. 0 replicas will stop all containers without deleting its configuration in MedStack Control, which is great for pausing a service. - Domain:
my-awsome-domain.comor{manager_node_ip}.sslip.io
If you have a custom domain already pointing at{manager_node_ip}, then use it here. Otherwise, and for demonstration purposes, you can use a domain service such as sslip.io or nip.io. For instance, you can use{manager_node_ip}.sslip.io - Internal port: 80
This is the port where we expose the app in Dockerfile. It is the port on which the container is listening for traffic.

And that's it! Click on Create service at the bottom of this page to deploy your service.
Validate the service
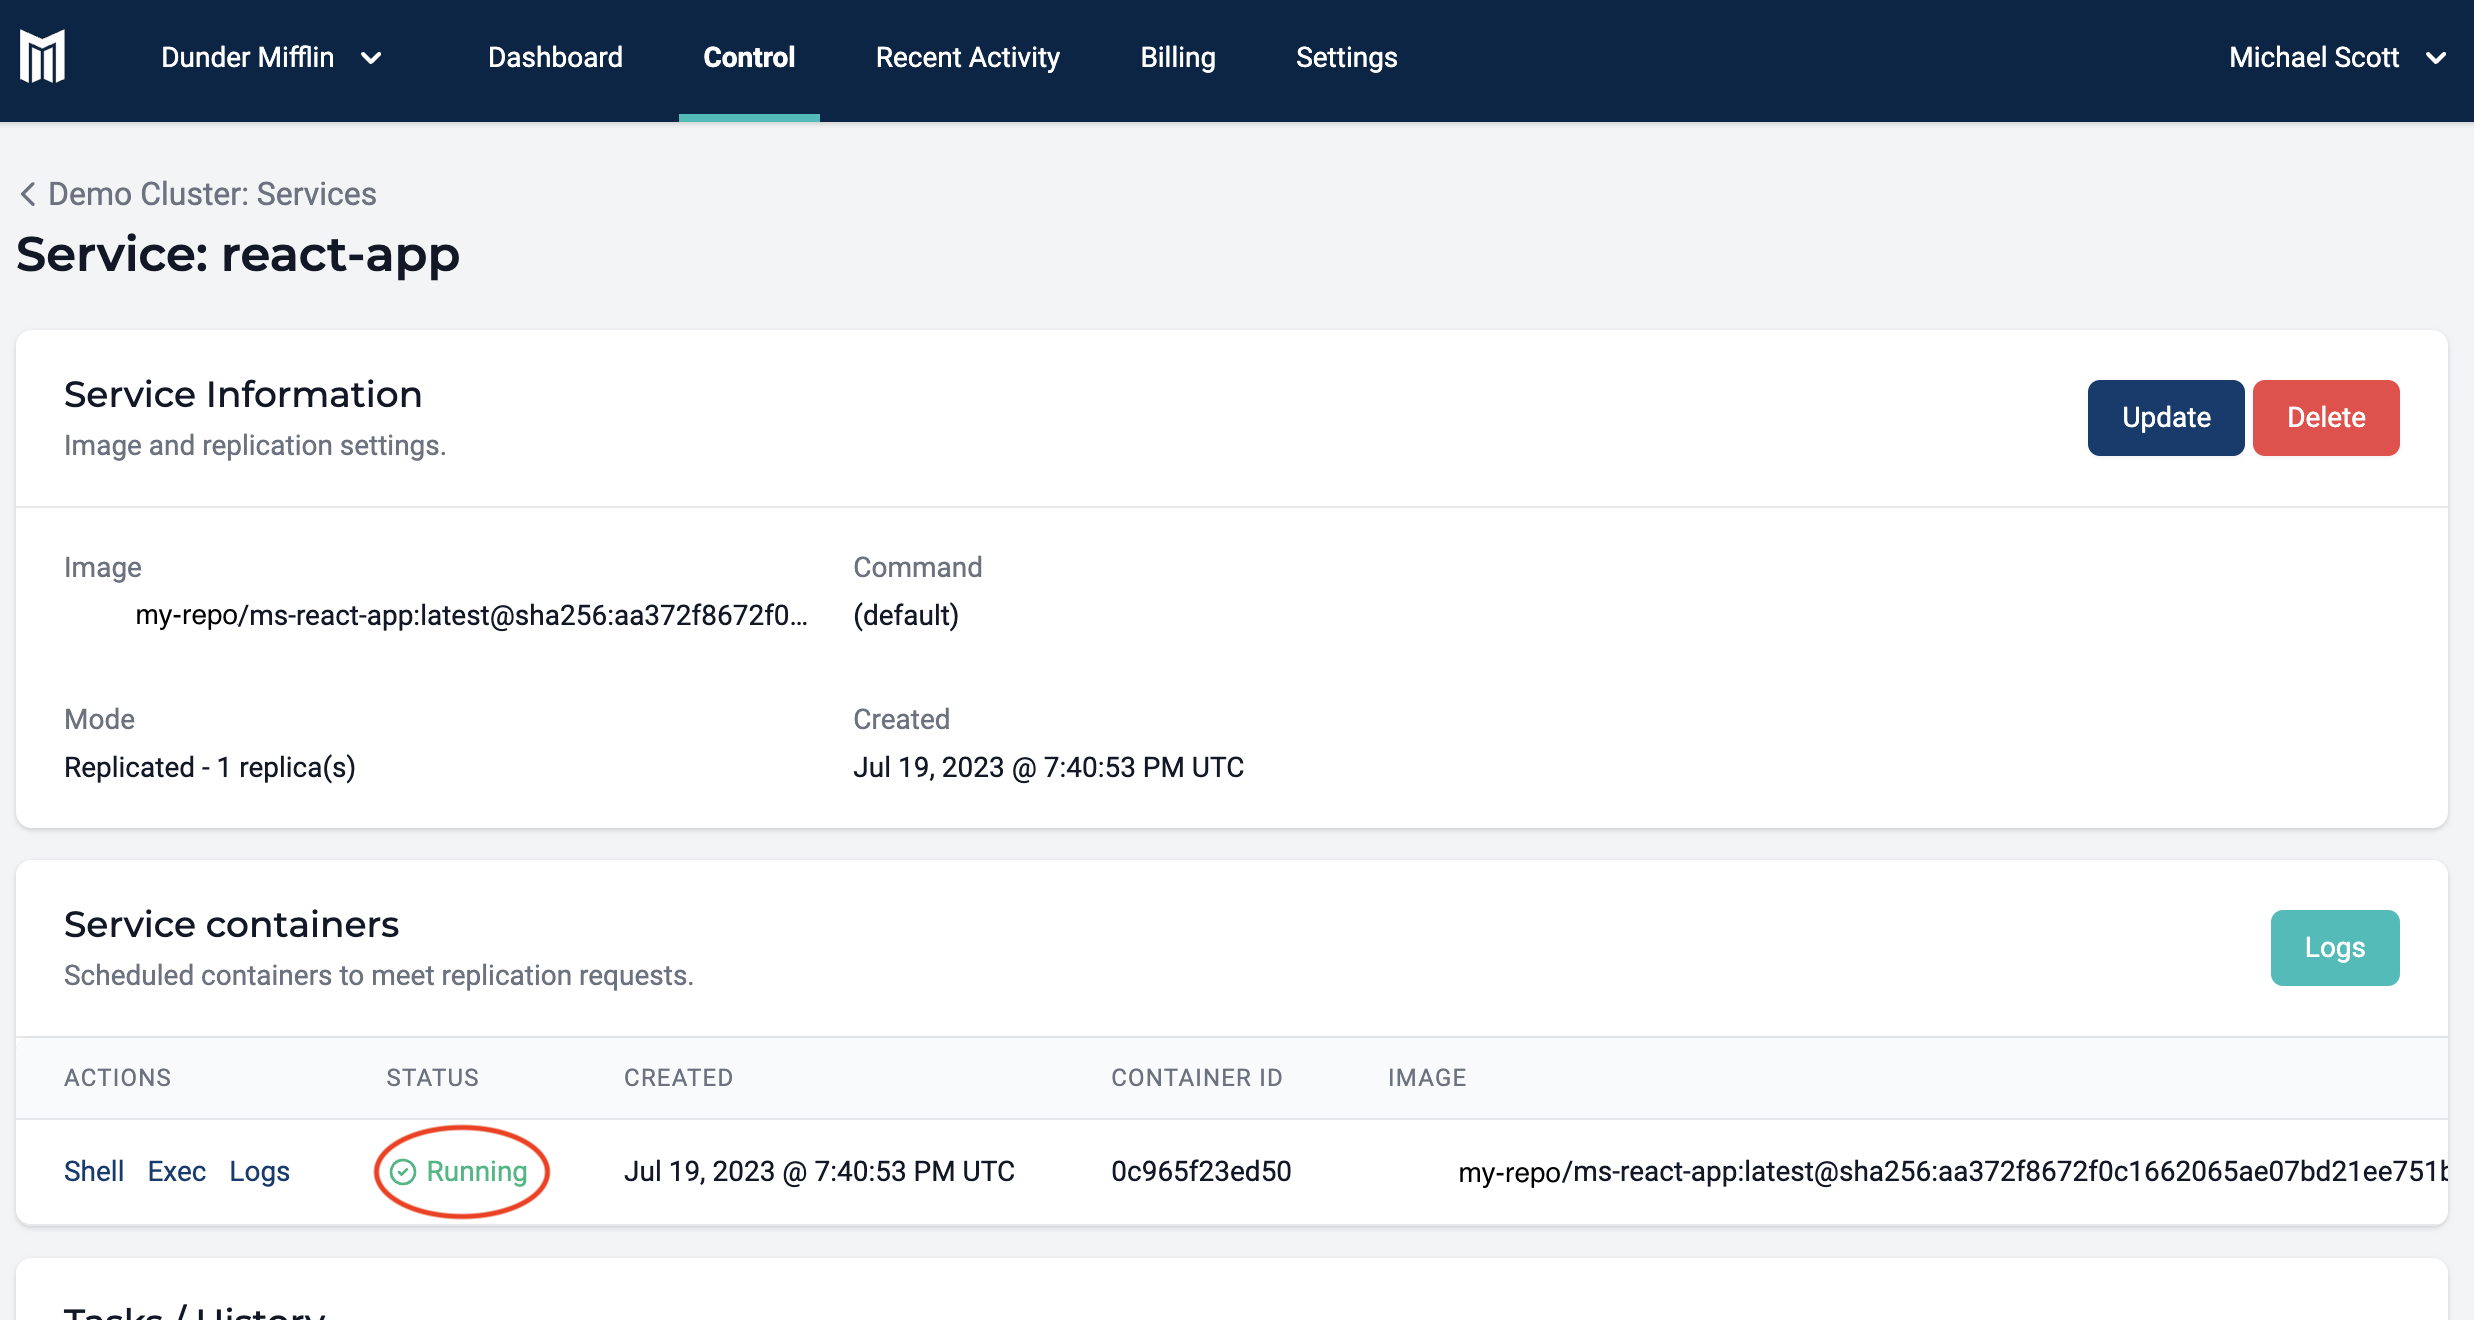
Once your new service react-app has been created, you can inspect it from the Services page.


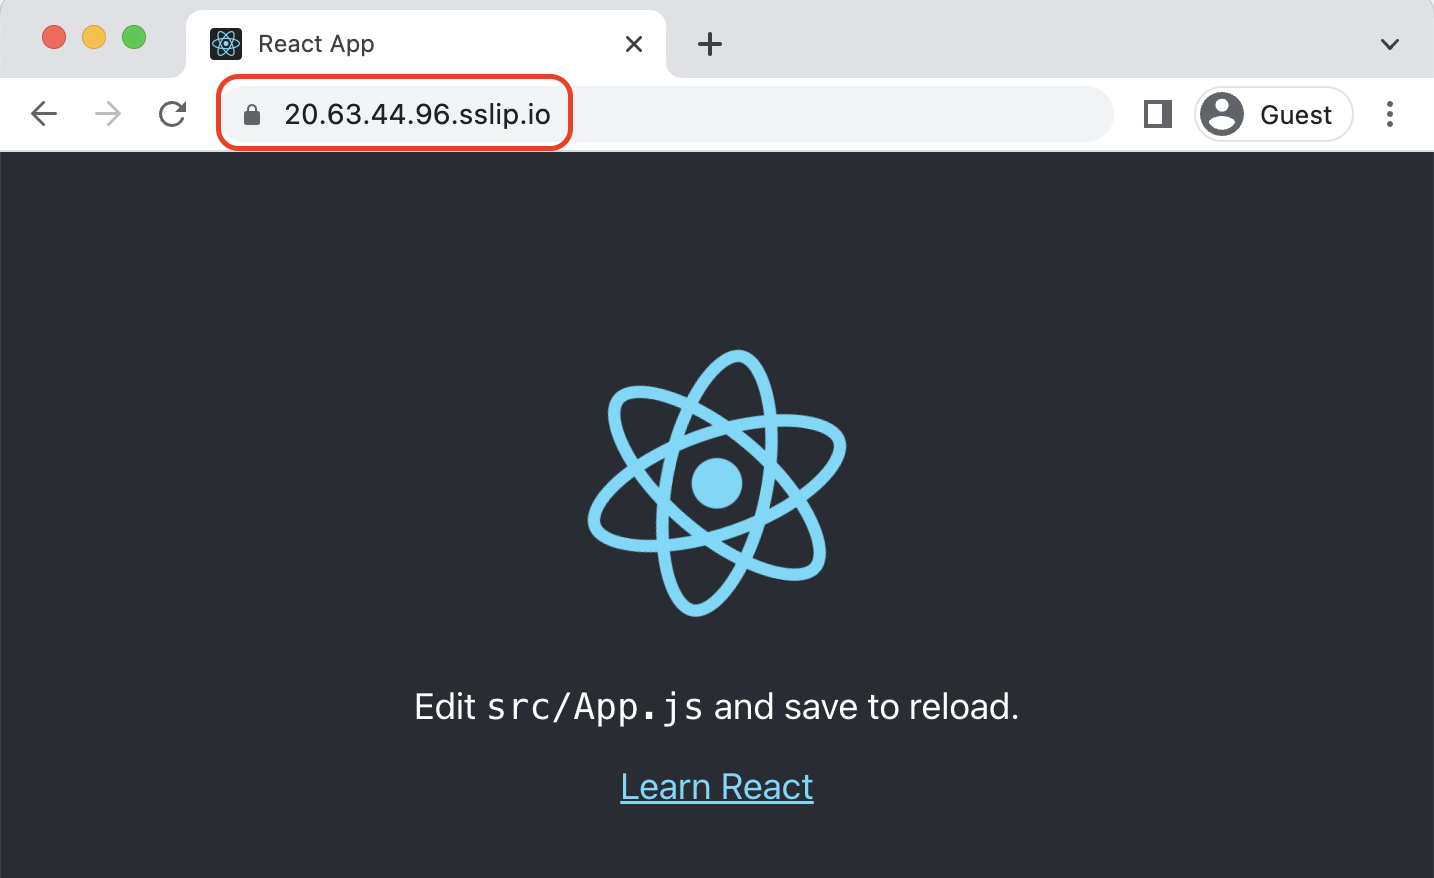
Once the container is marked as "Ready" you can visit the website mapped in the service to see your react app up and running.
